Our dining room features a mid-century table and chair set from West Elm that was our first “adult” purchase after our wedding. I added a touch of boho with a Persian rug from Target! I absolutely love the colors and it fits with the table runner and Our Place tableware I already had.
While we were house hunting, a dining room was a must-have! Mostly because we had this Mid-century West Elm set and I couldn’t let it go. Where do we eat most meals? On the couch 🙂 BUT it is perfect for when we have friends over and even expands to seat two more.
When it comes to certain home pieces, it’s worth the $$ for the quality. West Elm does a great job with the design and the quality is always there! The lines and details in our Mid-century Expandable Dining Table give some interest while remaining timeless. They also have a round/oval option!
I love the statement our dining room chandelier makes, even though it’s huge! Just a tip, actually look at the size of light figures, not just the design 🙂
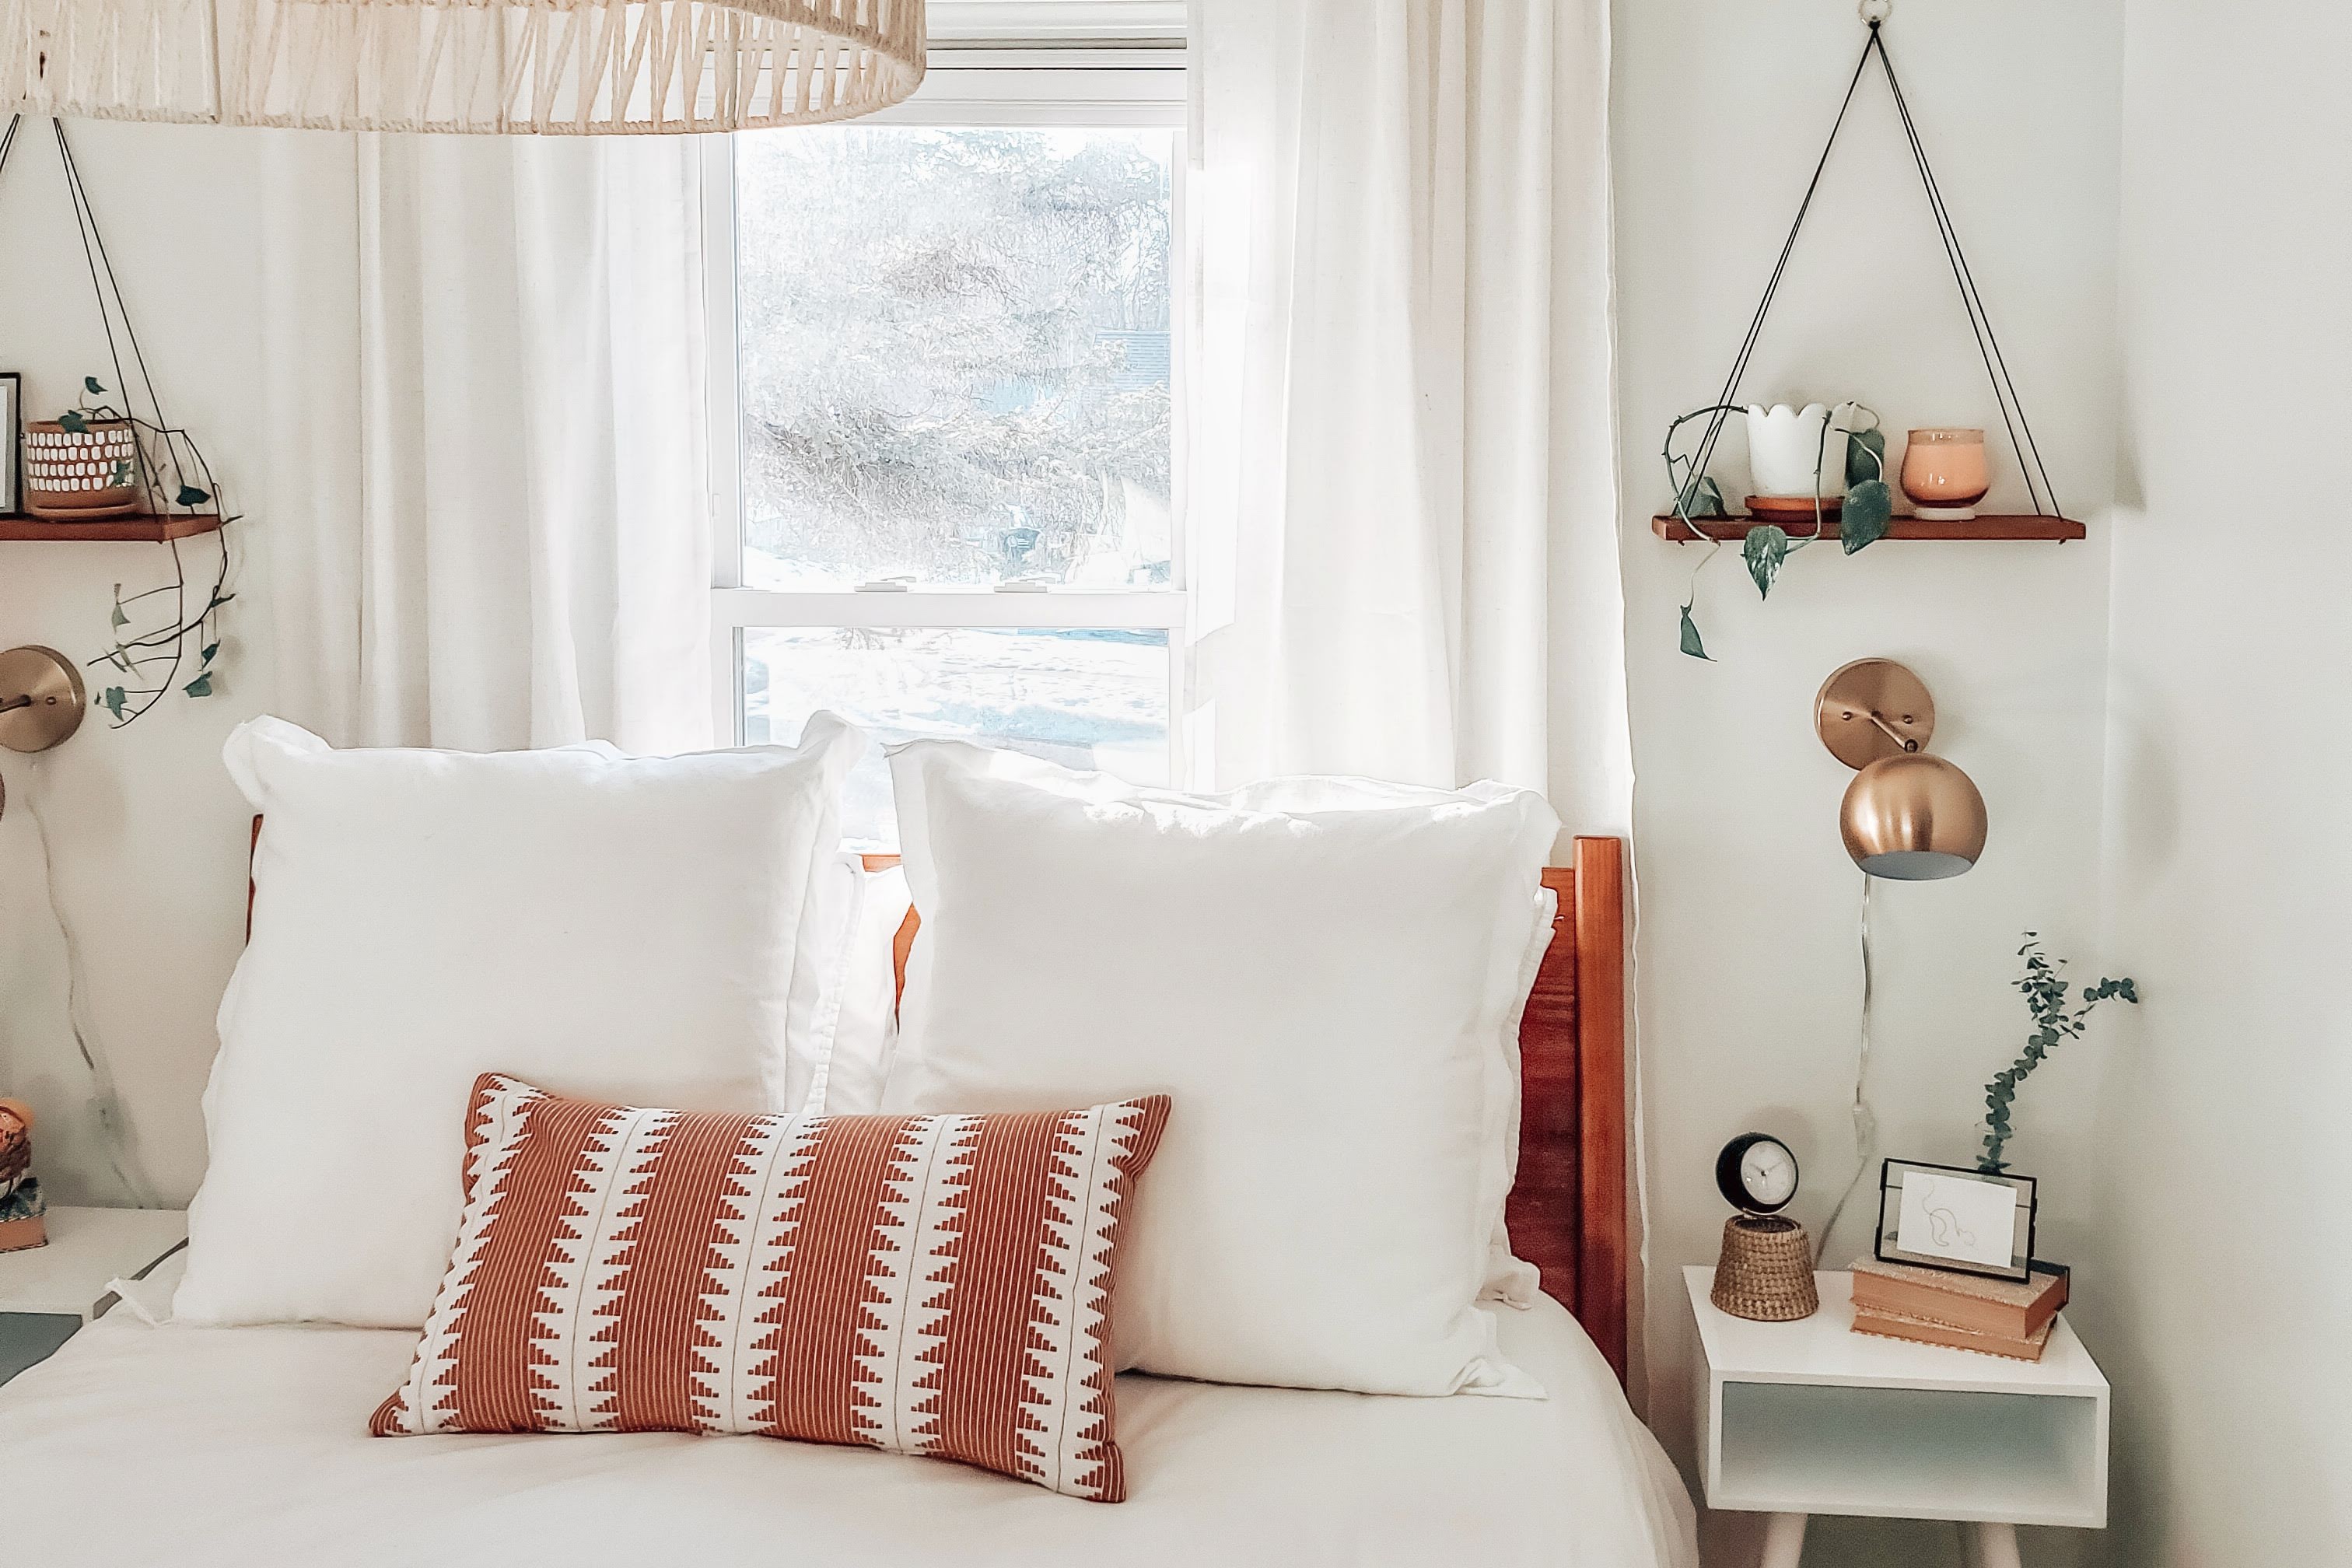
Creating our mid-century hygge bedroom: Hello all! My husband and I purchased our first home in December 2020! The 1951 home is full of natural light, arches, and little touches of character. My first step was to paint everything white! I used Sherwin Willians Alabaster for the walls and it’s perfect. My inspiration for our home came from my love for mid-century furnishings and the hygge lifestyle!
hyg·ge
noun
a quality of coziness and comfortable conviviality that engenders a feeling of contentment or well-being (regarded as a defining characteristic of Danish culture).
Working with the warm white paint color I mixed in creams, ivory, and bright white for a classic feel that still gave interest. Most of our bedding can be found at Target! I love the Hearth and Hand with Magnolia collections so much (like everyone) and they did an amazing job with this solid quilt and linen blend euro pillows! I also found the perfect little lumbar pillow there, Oversize Lumbar Woven Global Pillow – Threshold™
Adding Texture | Mid-century Hygge Bedroom
While I LOVE white, I needed to give the space some dimension. Texture is a big contributor when you are using a lot of the same color family. The Waffell Diamond Textured Trellis Tassel Area Rug from @rugsusaand the tassel throw blanket (Home Goods) add to the hygge bedroom vibes!
Adding Color | Mid-century Hygge Bedroom
While all the base elements are neutrals, I added pops of color in pieces I can easily change depending on my mood and the season. The painting you see on the wall (TJMaxx, see similar options below) is where I worked from and added in some pink, tan, and green in the plants. I also made sure to pick a mid-century bed frame that was wood for extra warmth.
Adding Accents | Mid-century Hygge Bedroom
For the nightstands, I actually found these at Home Goods for $30 each! The decor for them is either thrifted or from Home Goods as well.
A gift guide for the chef in your life! Cool and trendy peices that are practical for every day use. Categorized by tabletop, gadgets and prep! Happy shopping!
It’s the first week of November and my Christmas decor is out to play! I rounded up all of my picks for holiday decor and entertaining from Target and Kirklands.
I will be showing off my own decor soon and CAN’T WAIT! While I did purchase several things this year, a lot of my own decor is older or from Home Good and TJMaxx (which I can’t link).
As a reminder, when you shop via the links I provide here I earn a very minimal commission and I REALLY appreciate every purchase.
It’s basically Fall which means my diet has seen a crazy amount of pumpkin! One of my crowd favorites is this recipe for Pumpkin Whoopie Pies! They’re like a tiny little cake cookie with yummy frosting in between. Not only do they look great, but they are sure to make everyone’s taste buds happy! Melt in your mouth goodness!
If you have a favorite buttercream or even cream cheese frosting, feel free to use it for the whoopie pies! Just make sure it is fairly firm as they need to hold together well.
Cookies
For the size of the Pumpkin Whoopie Pies, you can make them bite-sized or as big as you’d like. For 24 sandwiches I made them the size of a small cookie, about 2 inches.
Pumpkin Whoopie Pies Assembly
Using a piping bag, pipe the buttercream in a swirl on one cookie. Top with another cookie to make the sandwich. Repeat for the rest of the cookies! You should have the perfect amount of buttercream.
*I do not recommend stacking the pies in any way as they are very delicate and stick to each other! This was just for a photo. Store them in a single layer.
I hope you love this recipe as much as I do! Please let me know if you try it or have any questions!
Pumpkin Whoopie Pies
Pumpkin Whoopie Pies are one of my favorite little treats to make in the fall! They are so cute and even more delicious!
Preheat oven to 325°F and line a cookie sheet with parchment paper.
In a large bowl or mixer blend together brown sugar and oil until well combined. Add pumpkin, eggs, and vanilla and continue to blend until smooth.
In a separate bowl, sift together flour, salt, baking powder, baking soda, and spices. Add to wet ingredients, stirring only until combined. Do not over mix!
For best results, spoon batter into a piping bag with a large tip or no tip. Pipe even circles of batter onto the parchment paper. You can choose the size, I usually do about 1.5 to 2-inch circles. Leave 2 inches between each cookie. If you don't have a piping bag, use a spoon or cut a hole in a ziplock bag.
Bake cookies for about 10-12 minutes, until they begin to firm up. Let cool completely.
Make the filling:
In the bowl of a stand mixer with the whisk attachment combine the egg white, milk, vanilla extract, and 1 cup of the powdered sugar. Mix on high speed until the mixture is creamy and light.
Add shortening and the remaining cup of powdered sugar. Whip on high speed until very light, about 8 to 10 minutes. Set aside.
Assemble the Pies:
To assemble cookies use a new piping bag or a spoon to put the filling on one side of the cookie sandwiches, then place another cookie on top to create the sandwich.
Whoopie pies can be stored at room temperature in a sealed container for a few days.
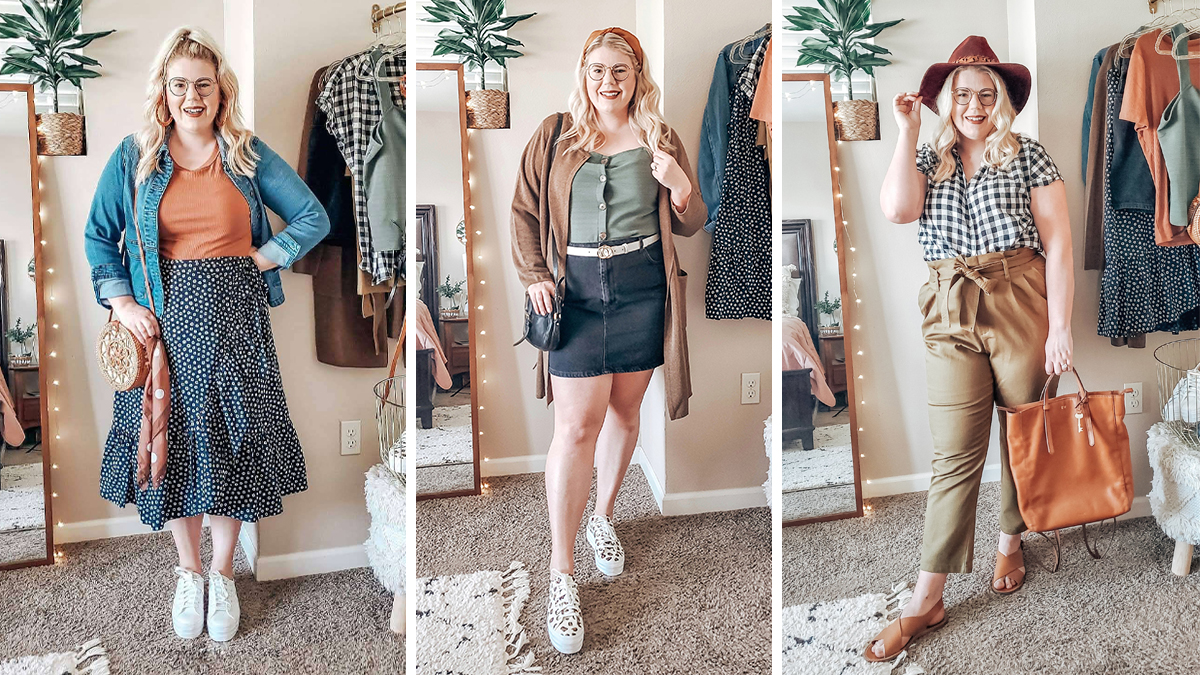
Thrifted fall styles: I challenged myself to style three outfits for fall with only thrifted pieces! Did I do it? Almost! These three looks are all thrifted (except a few things I’ll mention) and in-style for the fall season!
Secondhand pieces don’t have to be outdated or worn out. The key when shopping secondhand is to look for basics that won’t go out of style. Some things are always a fall trend, like plaid skirts and cardigans!
Shopping Tips
Here are my top tips for thrifting if you are new and shopping to resell or for yourself:
Shop any freestanding rolling racks or carts first! These are new items just being put out.
Goodwill: Notice the color of the tags on these new racks so you can easily spot the new items mixed in with old.
If you visit the same Goodwill often (like several times a week) keep in mind the new color tags. Don’t waste time going through what you’ve already seen!
Peep EVERY section. From employee mistakes to the customer put backs, goodies are everywhere.
Another tip for my fellow resellers: take a day to thrift just for yourself! Usually, I’m thrifting and my mind is in reseller mode so I overlook a lot of great stuff. When I’m buying for myself I don’t care much about the brand, and WOW that really opens up the doors.
A few brands I love for myself that I don’t pick up to resell:
Talbots (almost always great quality and classic styles)
LOFT
A New Day/Target
TJMaxx brands (those random junior ones)
H&M
Old Navy
GAP
There are so many quality brands out there that just don’t resell well, but are perfect for your own closet. What brands do you like? Tell me in the comments!
Let’s dive into the three thrifted fall styles that I found at Goodwill!
Thrifted: JOLT Cardigan $3.59, A New Day T-shirt $1.99, LOFT Plaid Mini Skirt $3.59 + pumpkin.
This week I showed you three outfit ideas for transitioning from summer to fall! My top tip for this is to wear summer on the bottom, fall on the top, or vice versa. I also love to add layers so you can take them off if you get too hot!
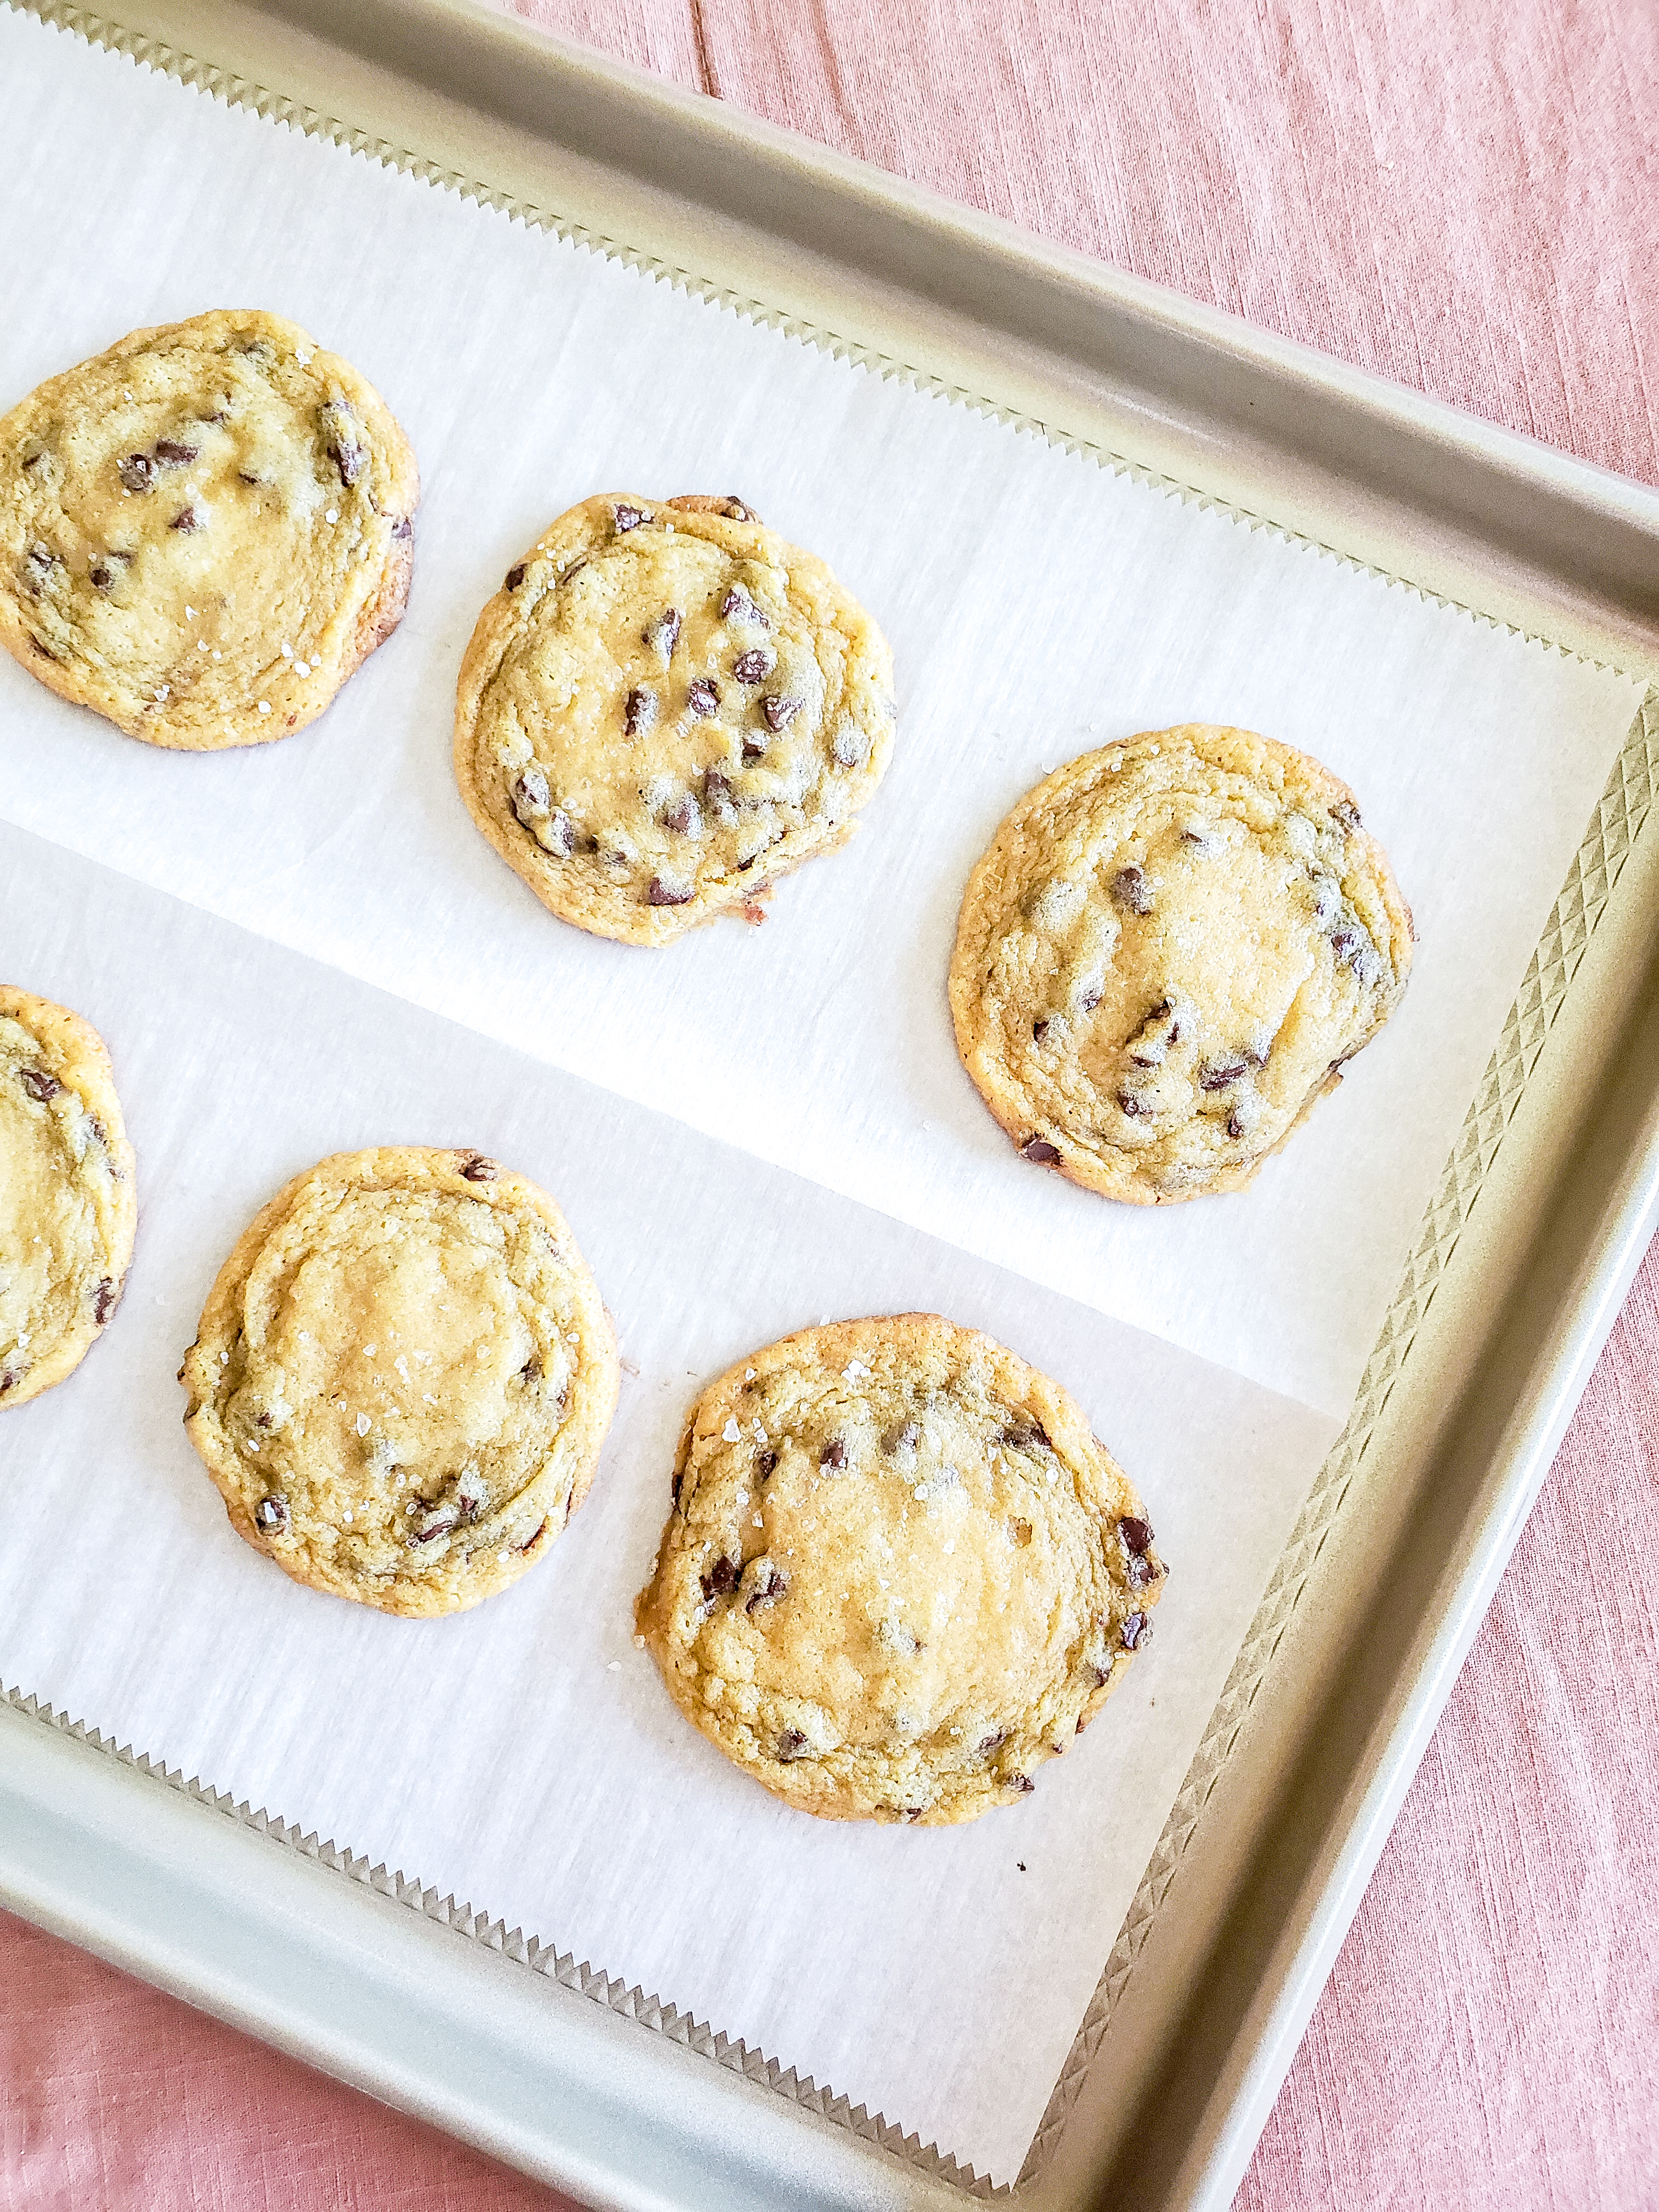
The “secret” to these soft and chewy chocolate chip cookies is instant vanilla pudding mix! When the recipe is from an old church community cookbook, you know it will be good.
I grew up with my mom making these chocolate chip cookies and have made a few edits over my years of baking them myself. The best part of these chocolate chip cookies is that the pudding mix makes them STAY soft and chewy even after a few days!
Chocolate Chip Cookie Dough
In a medium bowl mix the flour and baking soda. Set aside.
I am using my KitchenAid Artisan Mini (Guava Glaze), but you can use a hand mixer or mixer of your choice. Beat the butter, sugars, and vanilla pudding mix until it is smooth and creamy then beat in the eggs.
Gradually beat in the flour mixture until you’ve added it all and crumbles start to form. By hand or with a spoon start to press the crumbles together to form your dough. If your dough is too wet and sticking to your hands or spoon, add more flour a few tablespoons at a time.
Add the mini chocolate chips and mix until evenly dispersed through the dough. I like to use mini chocolate chips because you get more chocolate in each bite! You might not use the entire bag, just add as much as you’d like.
Refrigerate for at least 1 hour.
Line your cookie sheet with parchment paper (if you don’t have parchment paper, just make sure to spray your cookie sheet with nonstick spray). Using a scoop/baller or your hands form evenly sized balls and place on your cookie sheet at least 2 inches apart. Sprinkle sea salt on the top of each cookie.
The Oven
Preheat oven to 375 degrees. Bake the cookies for 8 to 10 minutes. The cookies should come out of the oven while they are still a little doughy in the center!
If you can resist the hot baked cookie, let them cool on the cookie sheet for about 30 minutes. This will let the centers firm up a bit and develop the perfect soft and chewy texture.
Storage
You can store your baked cookies at room temperate in an airtight container for several days or freeze them.
I like to only bake a few cookies at a time! Portion out the dough into balls/disks and stick them in the freezer. When you are craving a warm cookie, bake straight from frozen. This also keeps me from eating 10 at a time 🙂
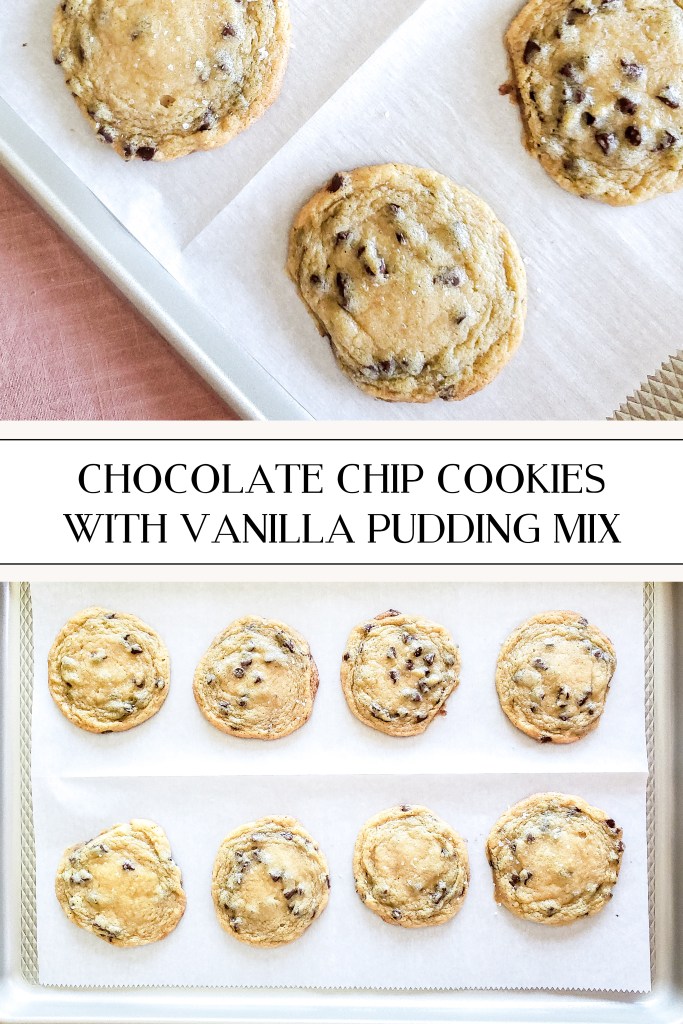
Recipe: Chocolate Chip Cookies with Vanilla Pudding Mix
Notes & Tips
The dough can be refrigerated for a few days after it is made.
I love these with Andes mint chips for the holidays!